How To Get Your Ipad Glass Replacement In Five Simple Steps
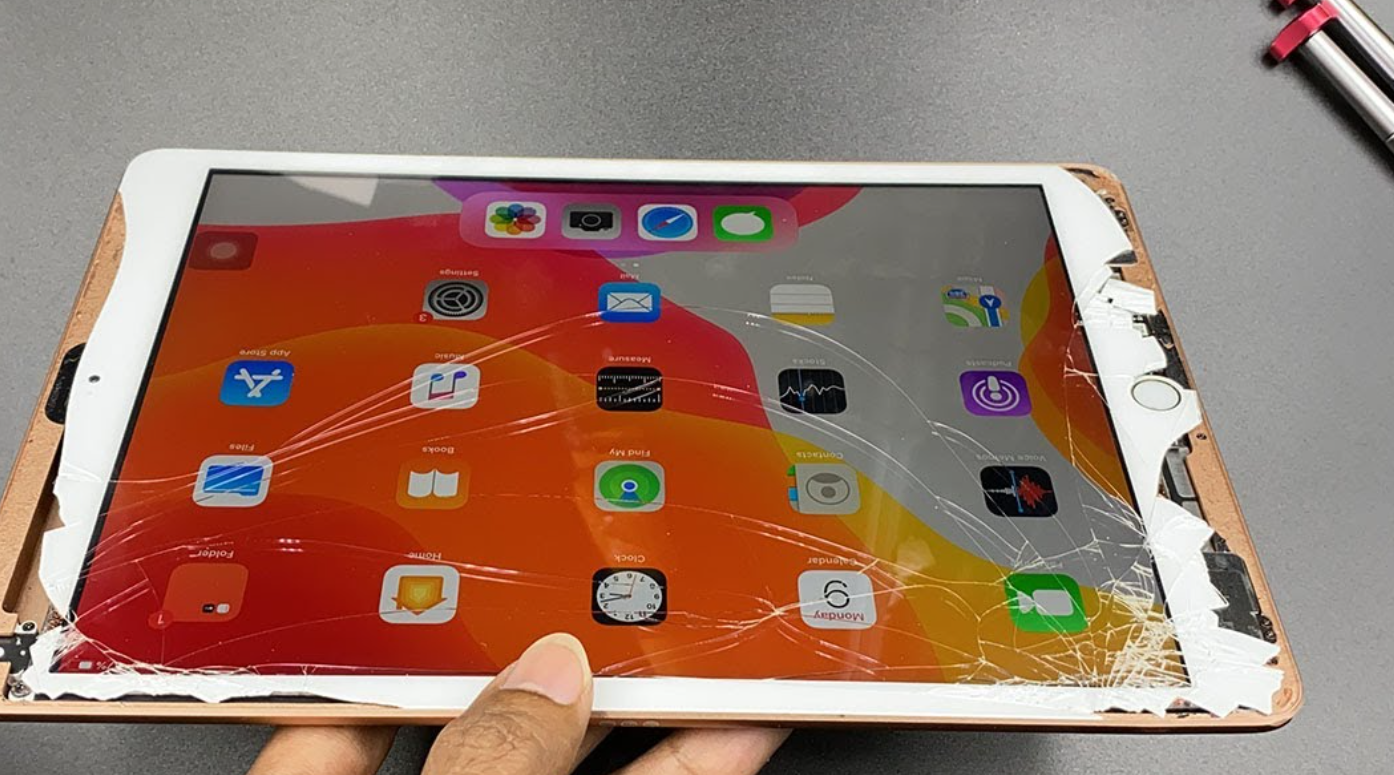
One of the most challenging aspects of owning an iPad is dealing with cracked glass. If you’ve ever been in the position of having to get your iPad glass replacement, then you know how difficult and expensive it can be. There are a number of ways to replace the glass on your iPad, but the process can be complicated and time-consuming.
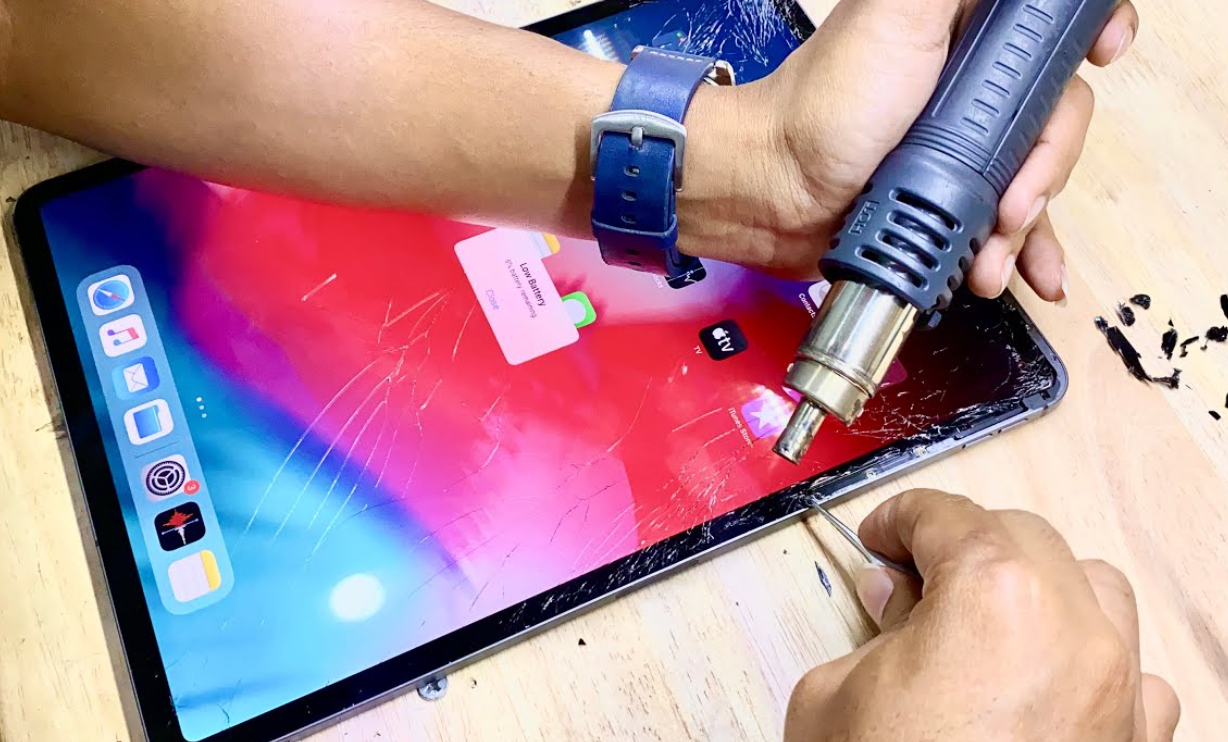
Get The Right Tools.
You’ll need to get the right tools for the replacement of laptop screen . For this project, you’ll need a heat gun or hair dryer, a pry tool and a suction cup. You can use a heat gun or hair dryer to heat up the adhesive around the glass, so it’s easier to remove, but you should never use one without supervision.
Open Your iPad.
Remove all of the screws from around the perimeter of your iPad, then place it face down on a soft cloth or towel. Carefully insert your pry tool between the edge of your iPad and its rear cover, as shown in Figure 1 below. Gently tap on the top of the pry tool with a mallet to loosen any adhesive holding them together (Figure 2). Once you’ve loosened enough adhesive, use the plastic opening tool to pry off the back panel (Figure 3). Remove all remaining screws before proceeding to step three.
Remove The Screen.
Remove the four screws on the top of the iPad using a Phillips screwdriver. These screws hold down a metal plate that’s attached to an adhesive strip on the back of the screen. The adhesive strip will come off with the metal plate when you remove the four screws.
Remove any additional adhesive strips from around the edge of your iPad’s screen by gently peeling them off with your fingers or a plastic opening tool.
Replace The Screen.
Remove any additional adhesive strips from around the edge of your new glass panel by gently peeling them off with your fingers or a plastic opening tool. Note that some replacement screens may come with adhesive already attached to their edges, in which case you can skip this step entirely and go straight to Step 5 below
Reassemble The iPad.
In the iPad glass replacement process, Align one corner of your new glass panel over its corresponding corner on your iPad screen, then slowly lower it into place until it clicks into place over its hinges (these are located along three sides of your iPad). Once it clicks into place, lightly press around all four corners with your fingertips until they snap into place as well (this should take less than 10 seconds).
Related Sources: Ipad Repairs, Hard Drive Recovery Toronto


